This is my digital and custom made Drill gauge. I made the drill gauge by using a cylinder platform and making it thin and small so that it doesn't look weird. The holes are 3,4,5,5.5,6,6.8,8,10. The measurements are for the drills that the students usually use. I would use this to measure drills at home. I learned how to use Tinkercad better and what I found challenging was making the holes on the cylinder. I have made an update on my tinkered and it now looks like this.
As you can see all I did was just put my name on it but it looks better in my opinion because it has my name on it. It is also very helpful because if I lost it they would know who the owner is because it says my name on it. I am thinking of making the name as a hole so that it looks even better.
After I changed my work, I decided if I should make the name a hole or not. Mt decision at the end was to change the text from a solid to a hole. This is what it looks like now.
In my opinion, I have chosen the right decision because it now looks better.
What have I learned? I have learned how to use tinkercad to make a digital 3D image of a drill gauge that I customized personally.
The Macbeth film: What do these images suggest? In Macbeth, Macbeth was leaded into Duncan's room. The daggers represent that Macbeth is up to no good and he is gonna murder the king which is king Duncan.
Who is missing from the text? The people who are missing are king Duncan's guards. They are supposed to protect king Duncan and make sure he is safe. But the guards were drunk and fell asleep.
Whose is allowed to speak? In Macbeth, there was a scene where everyone was sitting at the banquet and every royalty was sitting down. The only person who was allowed to speak was Macbeth and lady Macbeth which is Macbeth's wife. They are the only ones that are allowed to speak because they are king and queen and there position is higher than anyone else.
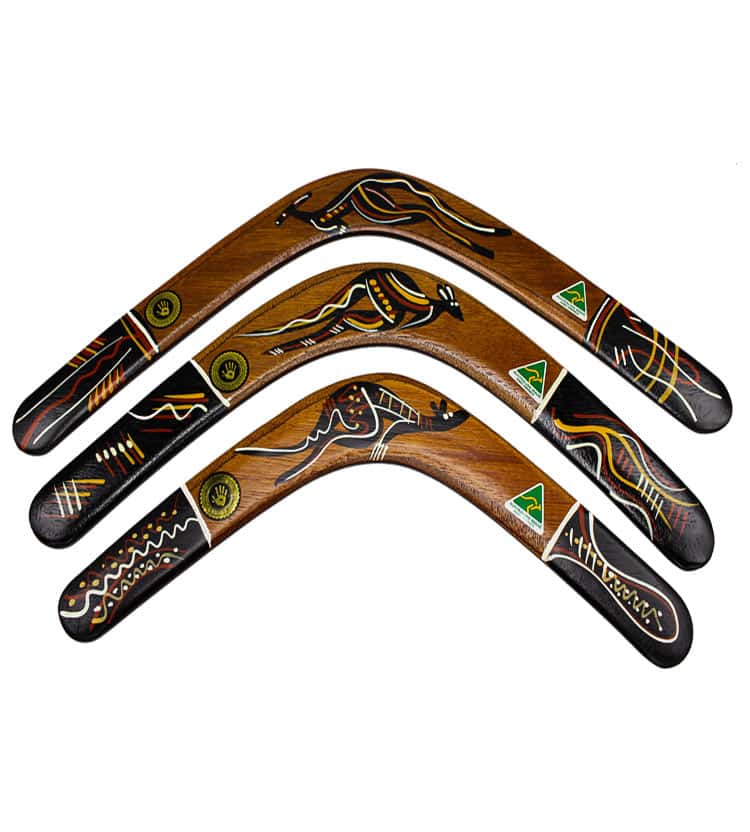
In wood tech, we were told to create a boomerang and we had a week to do it. There were three types of boomerangs we could pick. One was to kill a bird, the other one was to kill giraffes and the other one was to kill a kangaroo. I picked the bird one because it is simple and easy to make.
In term 1 we also made a wooden necklace that took us 3 weeks to do and I made a cross but lost it sadly. It took me 2 weeks and a half to make and I used the last week to sand it. The tools I used were Sandpaper, bandsaw, and hammer.
What my aim was to create a gauge that I can use to measure different sizes of drills. The sizes are 3,4,5,5.5,6,6.8, 8,10. I am happy from the results of my work and impressed with the way I painted it.
This is my drill gauge compared to a commercial drill gauge.
This is my drill gauge compared to a commercial drill gauge. As you can see there are more holes in the commercial one than mine because we were given a smaller piece of metal and the commercial drill gauge uses a wider and a longer piece of metal and the is made out of aluminum so that it doesn't rust easily.
The Equipment I used
Ruler: Vernier Caliper: Hammer:
What I used for marking What I used from finding What I used for hitting the
out the numbers. out the right sized drills. Center punches to create
Holes.
Spring Divider: Micrometer: Engineer Square:
What I used for marking The other tool I used to What I used to mark a
A straight line find the size of a drill straight line on my piece of
and for marking a circle Metal
Center Punch: Scriber:
What I used to create a What I used to draw a line
dent on my work to create on my piece of metal
a marking
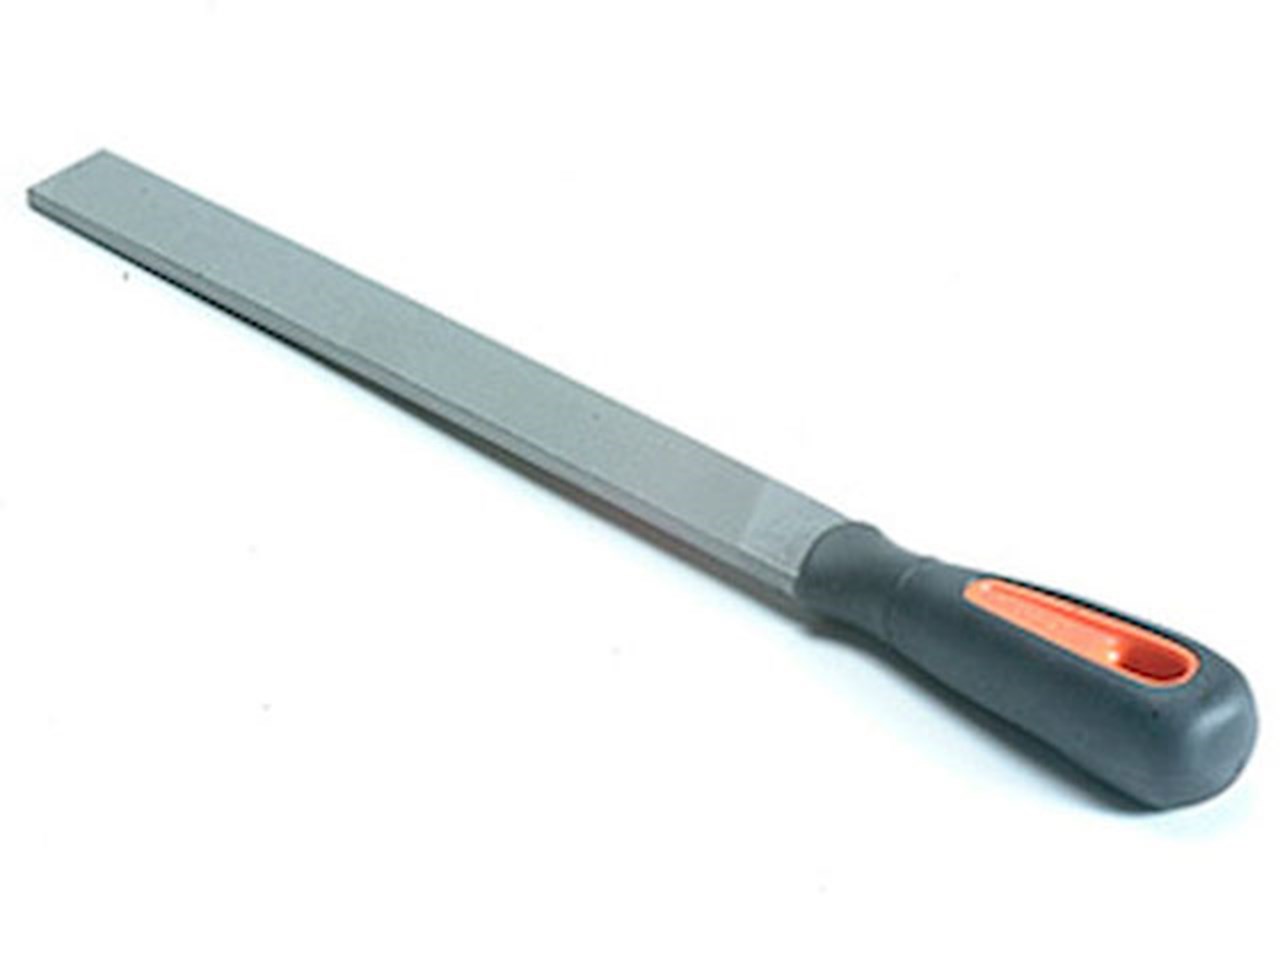
Hand File:
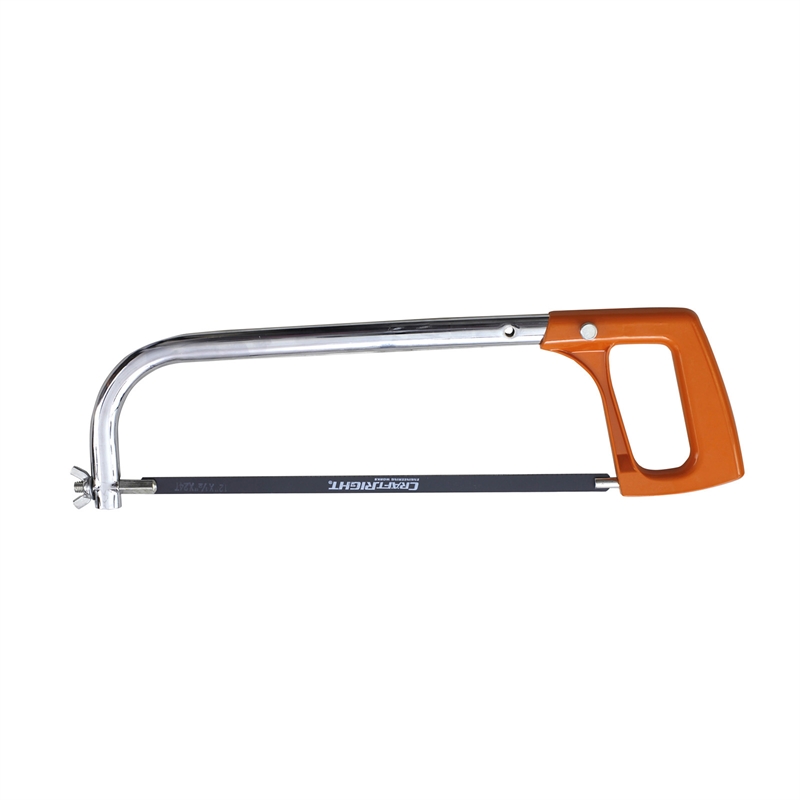
This is what I used to cut down my Hacksaw:
metal to the right size. What I used to cut the long piece Vice Holder:
of metal at the start of the project What I used to hold my metal
still, so that I can
I can file with
ease.
The Drill Bit: Drill bits are cutting tools used to remove material to create holes, almost always of circular cross-section. Drill bits come in many sizes and shapes and can create different kinds of holes in many different materials.
Buffing Machine: Drill Machine:
What I used for cleaning What I used for
metal piece drilling holes into
my piece of metal
How to use the equipment I used
How to use a vernier caliper? Vernier caliper has different parts to measure different things. For example, The vernier caliper has a part that can measure depth. To measure something you have to put something between the jaws of the caliper and close the jaws so that it holds onto it. Once it is closed there are numbers on the top that looks like a ruler, That is where you look to find out the measurement of the item you are looking for.
How to use a spring divider?Spring Dividers (or compass) are used for marking out work. Sharp points can be used to scribe the workpiece, creating arcs and circles. They can also be used to measure the distance between two points. They provide a high degree of accuracy and repeatability. The adjusting screw allows careful adjustment without removal of the tool from the workpiece.
How to use a micrometer? A micrometer is a highly precise device for measuring various objects. It operates by measuring the space between a hard stop (anvil) and a movable surface (spindle). When a thimble is turned it drives the spindle closer or farther away from the anvil. To take a measurement an object is placed between the anvil and the spindle and the thimble is spun until the object is gently pinched between the two faces. After the object is pinched the scale is read and a decimal measurement is derived. Once the object is secured in the clamp, you use the numbering system on the thimble which is the handle portion of the micrometer known as the sleeve. to find your measurement, The Inside Micrometer is used for measuring the inside of diameter, While the outside micrometer is used for measuring out the diameter of an object. To move the anvil face and the spindle you must twist the thimble on the handle to move it back and forth. To tighten the anvil face and the spindle you twist the rachet which is at the back of the handle.
How to use a Buffing machine?
Scrub from right to left to keep the cleaning solution around the entire area to be polish
Work backward from the back of the room to the front to prevent walking on the already cleaned area
Work in a straight line and overlap by approx. one-third of the machine width
Work sideways when polishing from left to right.
Here is also a video instruction on how to use a buffing machine.
How to use a drill machine? Before using a drill make sure to wear eye protection. Before you drill make sure that you also have the right drill bit and the right speed because if you are using a big drill and making it spin fast, the drill will break and make sure to put the drill firmly into the chuck. To drill there is a lever you push down to make it go down and you hold it firmly and pushing the lever down will make the hole you need. Here is a video you can watch if I haven't explained it well.